How To Photograph Whales In Cabo: Settings, Seats And Timing
Most whale photographs fail for two reasons: the shutter was too slow and the camera was pointed at where the whale used to be. This guide covers settings that survive a moving deck, where to stand, and how to read a surfacing before it happens.
Shutter speeds that hold whale behavior sharp
Planning values for a moving boat: burst mode and continuous autofocus matter more than any single number. Two of the biologist-led tours include professional photos, which takes the pressure off entirely.
The best camera plan combines a workable setup with a boat format that gives you a clear role when the whale surfaces. Compare The Cabo Tour Options Below →
Use fast shutter speed, one versatile lens and simple spray protection. The biologist trip adds guide photos; private gives one group the boat; the catamaran adds arranged hotel transfer.
What Can A Phone Actually Capture, And What Needs A Camera?
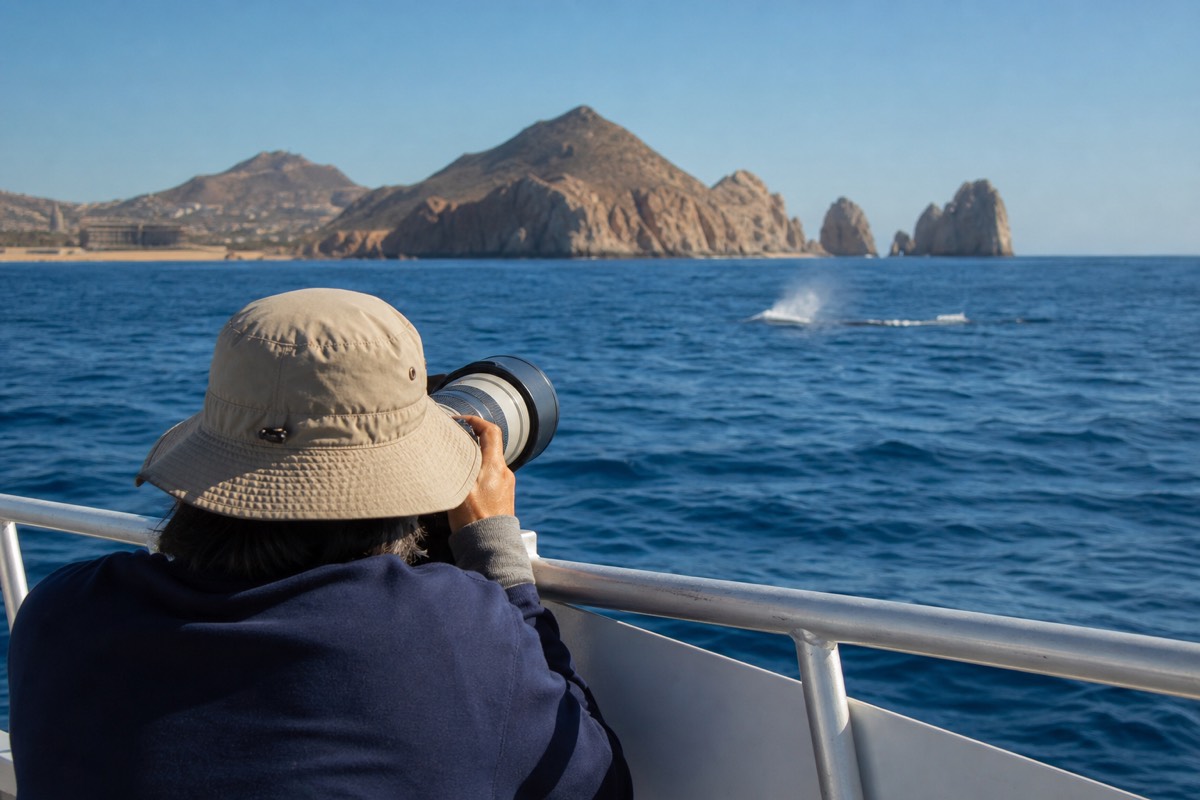
A phone gets you environment: the boat, the coastline, a whale close to the hull, video that looks fine on a screen. It does not get you a breach at distance. Anything showing behaviour on a whale two hundred metres away needs real reach and a fast shutter, which means a dedicated camera.
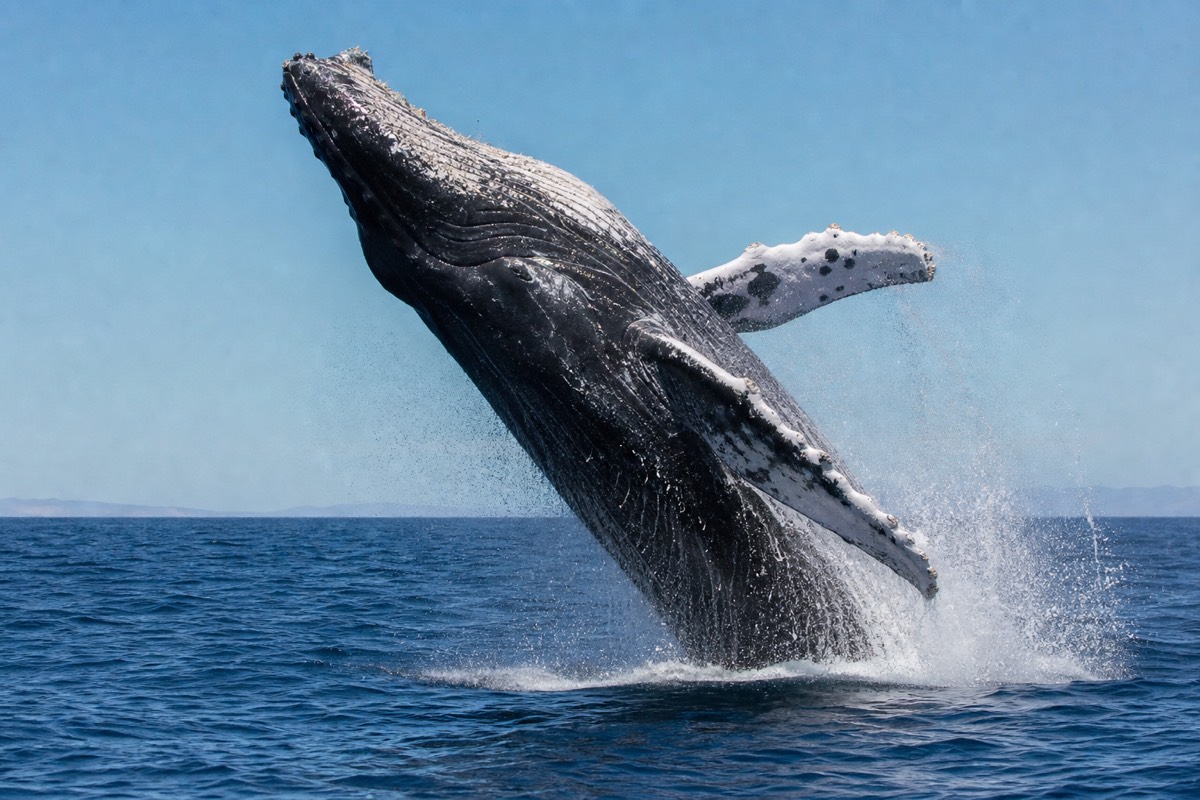
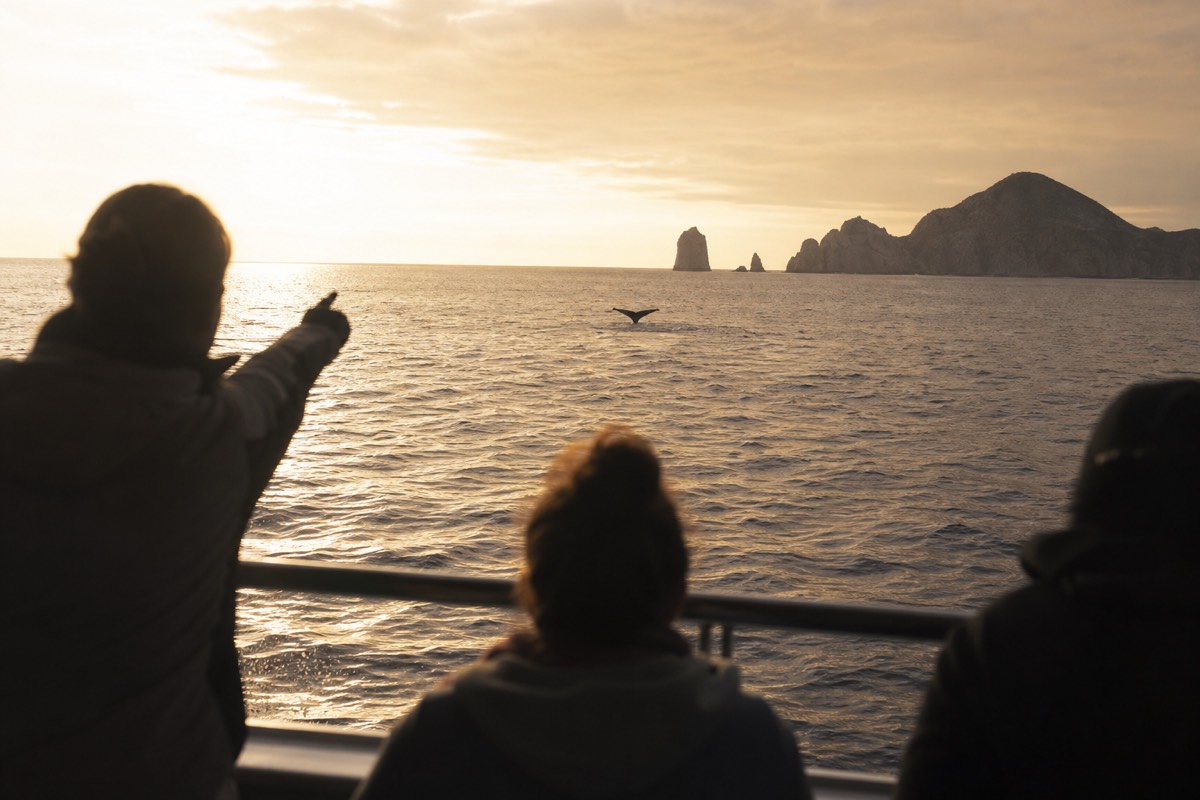
This is not snobbery, it is optics. Whales spend most of the encounter well beyond the range where a phone sensor holds detail, and the digital zoom that looks fine on the screen falls apart the moment you open the file at home. What phones do brilliantly is the wide shot: dark water, a low sun, a blow hanging in the air, a rail full of people looking the same way. Those photographs age better than most people expect.
The other honest point is that a phone is always in your hand and always ready. A camera in a bag under a bench during a breach is worth nothing. Plenty of guests come back with their best frame from a phone simply because it was out.
| What you want | Phone | Dedicated camera |
|---|---|---|
| Whale close to the boat | Very good, wide view keeps the scale | Often too tight unless you zoom out |
| Distant breach | Poor, digital zoom smears the detail | The reason to bring one |
| The Arch and coastline | Excellent | Good, but the phone is faster to deploy |
| Video | Excellent stabilisation, easy to share | Better quality, harder to hold steady on a deck |
| Sunrise and low light | Struggles with a moving subject | Clear advantage, higher usable ISO |
| Same-day sharing | Immediate | Card reader, laptop, later |
| Keeping your hands free | Pocket, one hand on the rail | Strap across the body, both hands busy |
The realistic answer for most visitors is both. Phone in a pocket for the wide moments and the coastline, camera up for the whale. If you carry only one, carry the one you actually know how to operate without looking at it.
What Settings Work From A Moving Boat?
Start at 1/1000 second or faster, continuous autofocus, high-speed burst, auto ISO with a ceiling, and aperture around f/5.6 to f/8. The deck moves, the swell moves and the whale moves. Shutter speed is what saves the frame, and it beats a low ISO every time.
Shutter priority is the honest mode for this work. Set the speed, let the camera find the aperture, and cap auto ISO somewhere you can live with on your body. Grain in a sharp photograph is a texture. Motion blur in a clean one is a bin.
Focus mode matters as much as speed. Continuous autofocus with a wide or zone area will find a dark body against bright water far more reliably than a single point you are trying to hold on a rolling deck. If your camera has animal or subject tracking, turn it on and let it work; it will sometimes lock onto spray instead, which is a fair trade for the frames it does catch.
Exposure is the last trap. Water in Cabo is bright, whales are dark, and a meter reading the whole scene will happily underexpose the animal into a silhouette. Watch the histogram on the first few frames and dial in compensation before the good moment arrives rather than during it.
| Scenario | Shutter | Aperture and ISO | Focus and drive | Note |
|---|---|---|---|---|
| Distant blow, bright morning | 1/1000 s | f/5.6 to f/8, auto ISO capped | Continuous AF, medium burst | Expose for the water, not the sky |
| Breach, unpredictable | 1/2000 s | f/5.6, auto ISO | Continuous AF wide area, fastest burst | Pre-focus on the last blow position |
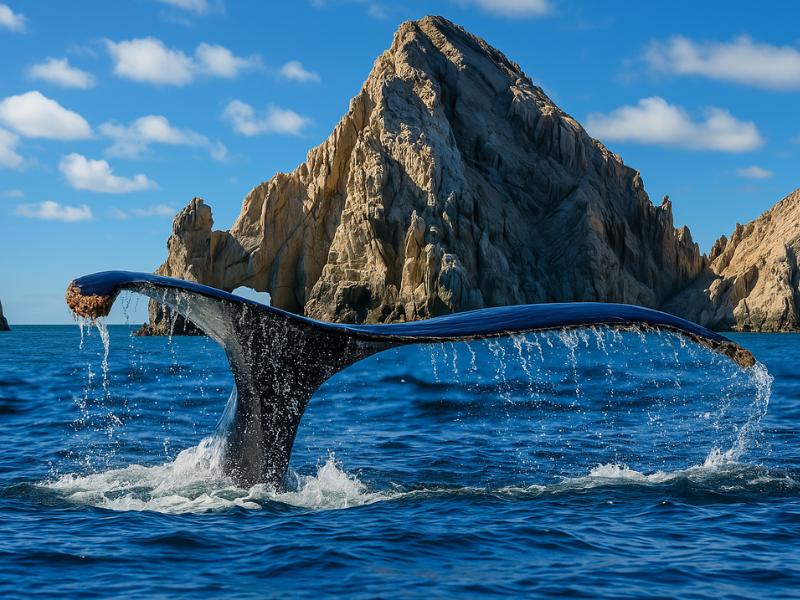
| Fluke-up dive | 1/1000 s | f/8 for depth across the tail | Burst of five to eight frames | Leave room above the fluke, do not clip it |
| Whale surfacing beside the hull | 1/500 s is enough | f/8, low ISO | Continuous AF, wider lens | Shoot loose and crop later |
| Backlit spout at sunrise | 1/1250 s | Underexpose about two thirds of a stop | Spot metering off the spray | The blow glows when the sun is behind it |
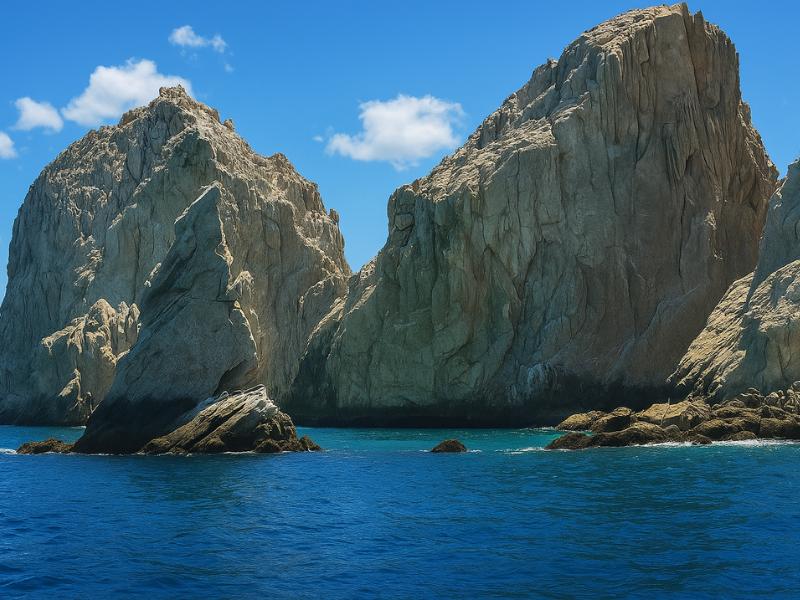
| Boat and coastline context | 1/500 s | f/8, base ISO | Single AF | Include the Arch so the place is readable |
| Sea lions on the rocks | 1/640 s | f/5.6 | Continuous AF, short bursts | The easiest subject of the trip, use it to test |
Which Lens Should You Bring?
One zoom in the 100 to 400 range covers almost everything and never has to come off the body. Changing lenses on an open deck in salt spray is a bad idea, so pick the single most versatile piece of glass you own and accept the compromises rather than carrying three.
Reach is seductive and easy to overdo. A 600mm prime finds the whale but loses it again the moment the animal moves, because at that focal length the frame is a keyhole and the deck is moving under you. Most keepers from Cabo boats come from moderate telephoto ranges where you can hold the subject and still see enough water to compose.
Stabilisation helps more than an extra stop of aperture here. So does a shorter, lighter body you can hold up for a two-hour trip without your arms failing at minute eighty, which is exactly when something interesting happens.
| Kit | Reach | What it gets you | Trade-off |
|---|---|---|---|
| Phone main camera | Wide | Scene, boat, coastline, close passes | Nothing at distance |
| Phone telephoto module | Short tele | Usable when a whale is genuinely close | Falls apart in low light |
| 24 to 70 equivalent | Standard | Deck life, people, the Arch | Too short for behaviour |
| 70 to 200 | Medium tele | Close passes, sea lions, spray detail | Wants the whale to come to you |
| 100 to 400 or 150 to 600 | Long tele | The workhorse choice for breaches and flukes | Heavy, and slow to find the subject |
| Fast prime, 300 or 400 | Fixed long | Best image quality in poor light | No framing flexibility on a moving boat |
| Action camera on a strap | Very wide | Video that survives the motion | Whales look distant in every frame |
Leave the tripod at the hotel. It is useless on a moving deck and it is a hazard to everyone else. A monopod is marginal. Your elbows braced on the rail are better than either.
How Do You Know Where The Whale Will Surface Next?
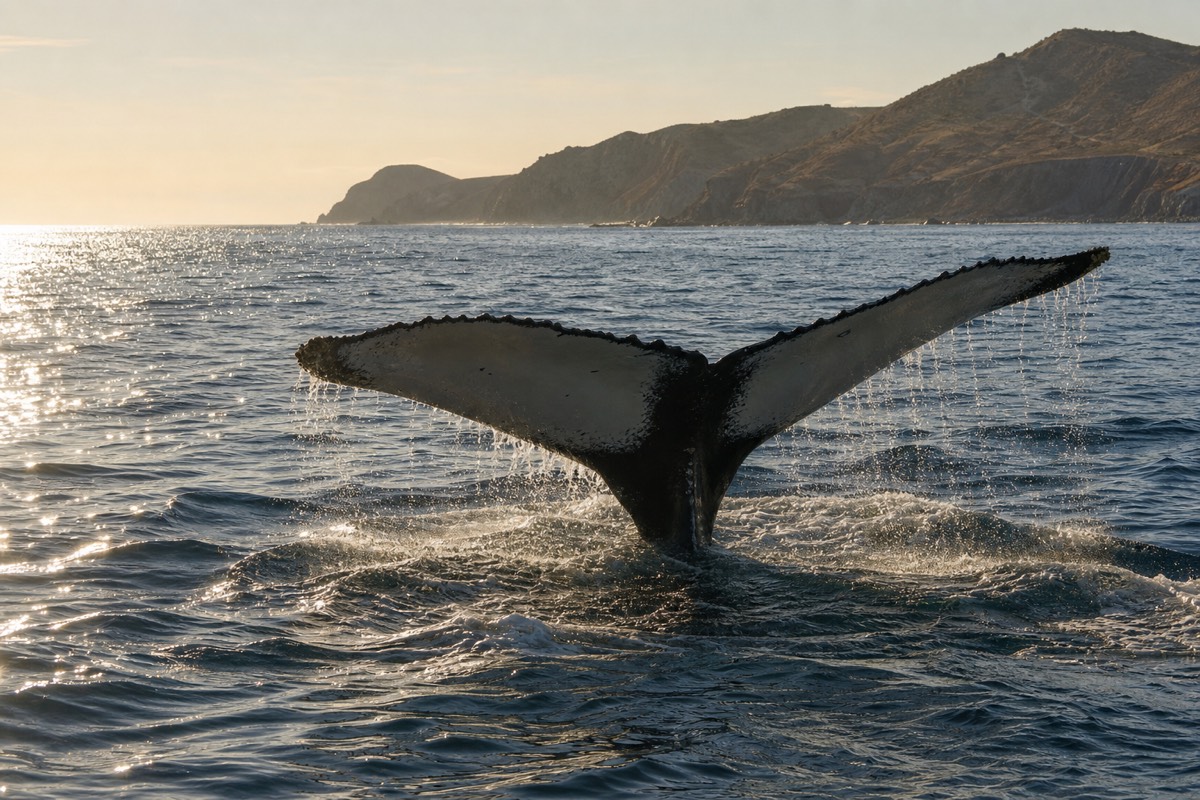
Read the sequence rather than chasing the splash. Whales blow several times in a row before a deeper dive, so the first blow tells you where to point and the rhythm tells you when. A fluke lifted clear of the water means that animal is going down and staying down.
The habit worth building is counting. When you see the first blow, start counting seconds until the next one. Whales surfacing in a series tend to hold a rough interval, and once you have two data points you can have the camera up and focused before the third. That single habit turns a lucky frame into a repeatable one.
Direction is the other half. Watch the angle of the back as it rolls: the animal is travelling that way, and it will surface further along that line rather than in the same spot. Aim slightly ahead of where you saw it, the way you would with a bird.
Surface signs help too. A smooth oval slick, sometimes called a footprint, appears where a fluke has pushed water upward, and it marks a recent dive. Birds working a patch of water often mean bait, and bait can mean feeding activity. None of this is guesswork you have to do alone, because the biologist-led boats narrate exactly this while it happens.
| What you see | What it usually means | What to do |
|---|---|---|
| A tall bushy blow | A whale has surfaced to breathe | Point, focus, start counting seconds |
| Repeated blows in a series | The animal is recovering before a deeper dive | Stay on it, the sequence is your rhythm |
| Back arching high | A dive is starting | Widen slightly, the fluke may follow |
| Fluke lifted clear | A deep dive, that animal is gone for a while | Shoot the burst, then rest your arms |
| Pectoral fin slapping | Surface activity, often repeated | Stay locked on, it frequently happens again |
| A smooth slick on the surface | A fluke passed underneath moments ago | Watch the water ahead of the slick |
| Birds working one patch | Bait fish concentrated near the surface | Keep half an eye there between surfacings |
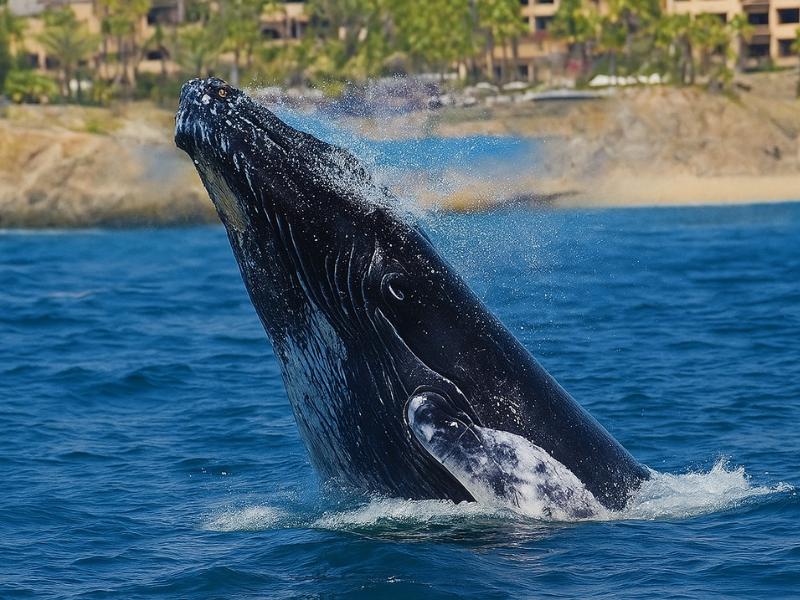
| A calf beside a mother | Slower travel, longer time at the surface | Your best chance at a considered composition |
Where Should You Sit Or Stand On The Boat?
The bow rail on a small boat, the upper deck on a catamaran, and always the side with the sun behind you if the layout allows a choice. Board early enough to pick, then stay put. Moving around a crowded deck during an encounter costs you the shot and irritates everybody.
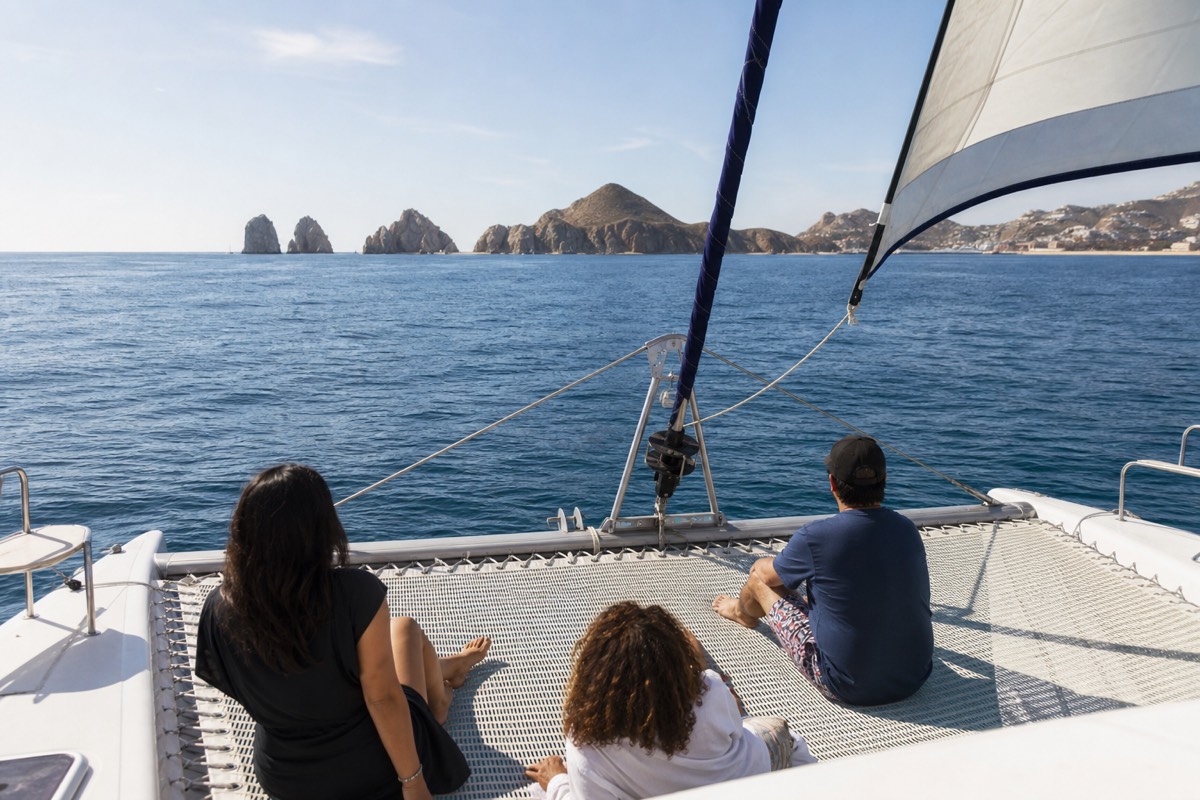
Light direction is the decision that matters most and the one people think about least. With the sun behind you the whale is lit and the water goes deep blue. With the sun in front you get silhouettes and flare, which occasionally makes a beautiful backlit spout and usually makes a mess. On a morning departure heading out past Land's End, work out where the sun is during the briefing.
Boat type changes the answer. A small biologist-led boat capped at ten or twelve guests has low freeboard, which puts your lens close to the water and makes even a mid-distance whale look substantial. A twin-level power catamaran gives height, a wider view of approaching blows and a more stable platform, at the cost of that low, intimate angle. Neither is wrong, they simply produce different pictures. The boat-by-boat comparison spells out the differences beyond photography.
| Boat type | Best position | Why | Watch out for |
|---|---|---|---|
| Small biologist boat, up to 12 | Bow, standing when permitted | Low angle, close to the water, unobstructed | Spray, and the captain may ask you to sit |
| Twin-level power catamaran | Upper deck, forward corner | Height finds distant blows early | More people, more elbows in your frame |
| Sailing catamaran, up to 16 | Forward trampoline or windward rail | Quiet under sail, open sightlines | Rigging cuts across wide frames |
| Private yacht | Anywhere, it is your boat | You can ask the captain to reposition | Nothing, this is the luxury option |
| Larger group boat | Bow rail, boarding first | Only spot with a clear line of sight | Fills fast, arrive at check-in early |
Why Is Morning Light Better For Whale Photos?
Three reasons stack up at once. Seas are calmest early, so the deck is steadier and distant blows are visible against an unbroken surface. The light is low and warm rather than flat and overhead. And whales tend to be more active after the night, which gives you more to point at.
Morning can offer cooler air, softer light and calmer conditions, while afternoon conditions vary. Compare the actual departure times, prices and availability on the verified live listing rather than assuming one slot sells out first or costs the same.
An early departure can improve light and often catches a calmer part of the day, but wind and whale behavior still vary. Use the verified live products to compare the actual departure times offered for your date.
Light also changes what your camera can do. At sunrise you are working at higher ISO for the same shutter speed, so the exposure discipline described above matters more. By nine in the morning you have light to spare and can shoot at 1/2000 second without thinking about it. How the season affects all of this, including the water conditions month by month, is covered in the guide to the best months for Cabo whales.
How Do You Keep Horizons Level On A Swell?
Turn on the electronic level or grid in the viewfinder, shoot a little wider than you want, and fix the last degree in editing. Fighting a rolling deck in real time costs you the moment. Composing loose costs you a few pixels, and pixels are cheaper than a missed breach.
A tilted horizon is the single most common flaw in whale photographs from small boats, and it is the one people notice immediately without knowing why the picture feels wrong. Water reads as a horizontal, so any lean looks like an error rather than a style.
Bracing helps. Feet apart, knees soft, elbows into your ribs, and let your legs absorb the swell rather than your arms. Leaning on a rail transfers the boat's motion directly into the camera, so touch it lightly rather than resting your weight on it.
For video the answer is different: keep the camera moving smoothly rather than trying to hold it perfectly still, and pan with the animal. A phone's stabilisation handles a slow deliberate pan far better than it handles a series of small corrections.
How Do You Protect Gear From Salt Spray?
Assume everything will get wet. Bring a dry bag or a sealed pouch for anything not in your hands, a microfibre cloth in a pocket rather than in the bag, and a rain cover or a simple plastic sleeve for the camera body. Do not change lenses on deck.
Salt is the problem, not water. A splash of fresh water dries harmlessly, whereas salt crystallises on the front element and inside seals and stays there. Wipe the lens between encounters, not at the end. A single dried salt spot in the middle of the frame ruins every photograph taken after it.
Straps matter more than people think. A camera around your neck on a rolling deck swings into rails and other passengers, so a cross-body strap tightened short keeps it against your chest and out of trouble. Phones want a wrist loop or a pocket with a zip, because the sea keeps everything it is handed.
Back at the hotel, wipe everything down with a barely damp cloth and let it dry properly, especially zoom barrels and hinges. If a lens has been genuinely soaked in spray, it is a service issue rather than a wipe-down. Layers, sun protection and the rest of the boat kit are covered in the guide on what to wear and bring on a Cabo boat.
What Are The Most Common Whale-Photo Mistakes?
Zooming to maximum and losing the animal, shooting single frames instead of bursts, reviewing images on the screen while the next surfacing happens, and setting a shutter speed that would be fine on dry land. All four are habits rather than equipment problems, and all four are fixable in one trip.
The review habit deserves its own warning. Looking down at the back of the camera between surfacings feels productive and is the reason people miss breaches. Whatever you shot is already recorded. Keep your eyes on the water and check it on the drive back.
| Mistake | What it costs | Fix |
|---|---|---|
| Zoomed all the way in | You cannot find the whale, and lose it when it moves | Frame wider, crop afterwards |
| Single-shot drive mode | One frame of a three-second event, usually the wrong one | High-speed burst, always |
| Reviewing between surfacings | The breach happens while you are looking down | Eyes on the water, review on the way back |
| Shutter below 1/500 s | Soft frames even when focus was correct | Shutter priority at 1/1000 s and up |
| Salt on the front element | A soft grey smear across every later frame | Cloth in a pocket, wipe between encounters |
| Tilted horizon | Every image looks subtly wrong | Level or grid on, shoot loose, straighten later |
| Changing lenses on deck | Salt and spray inside the body | One lens for the trip |
| Framing too tight on a fluke | Clipped tail tips in the best frame of the day | Leave space above and to the sides |
Should You Let The Crew Shoot It For You?
On the biologist-led boats, seriously consider it. Two of the small-boat trips include free professional photographs taken by the crew and shared afterwards, which removes the pressure to perform and lets you watch the animal with your own eyes. The crew shoot this every day from the same deck.
The verified small-group trip caps attendance at 12 and lasts 2.5 hours. It includes guide photos, water and a restroom, and carries a hydrophone for use when conditions allow. Check the live listing for the current date and availability.
There is a real argument for handing the job over. A two-hour encounter watched entirely through a viewfinder is a strange way to meet an animal longer than the boat, and the people who come back happiest usually shot for part of the trip and simply watched for the rest. Take the crew photographs as your insurance, then spend your own frames on the moments that matter to you.
What Are The Etiquette Rules On A Licensed Boat?
No flash, ever. Stay seated when the captain asks, especially during a close approach. Do not lean out over the rail, do not ask the crew to get closer, and keep your gear out of other people's frames. Mexican regulation sets the distances, and the captain is the one enforcing them.
Whale-watching operators need the relevant SEMARNAT authorization, and NOM-131 sets the approach, distance and observation rules. For humpback and gray whales the minimum is 60 metres for smaller vessels and 80 metres for medium or larger vessels, with no more than four boats observing one group. If a whale approaches, the motor remains on in neutral until it moves away; it may be switched off when a hydrophone is in use. Swimming and diving are prohibited during whale observation.
The wider principle behind responsible whale watching is that the animal controls the encounter. NOAA Fisheries publishes viewing guidelines built on that idea, and the IWC whale watching handbook collects the same practice for operators worldwide. In practice it means a boat that waits rather than chases, which is also the boat that gets you the closest encounters, because whales approach vessels that behave predictably.
Flash deserves a specific mention because people still reach for it at dawn. It does nothing at any useful distance, it disturbs animals at close range, and it lights up spray directly in front of the lens. Turn it off before you board and leave it off. The safety framework that shapes all of this is covered in the guide on how Cabo whale tours are regulated.
What Do You Do With The Take Afterwards?
Cull hard the same evening while you still remember what happened. From a two-hour trip on burst mode you may come home with two thousand frames and roughly ten that are worth keeping. Rate the keepers on the first pass, delete the obvious failures, and leave the middle for later.
Whale frames edit in a predictable way. Most need the horizon straightened by a degree or two, a crop that tightens the composition without clipping a fluke, a lift in the shadows because dark bodies against bright water always sit low, and a small clarity increase on the spray. Resist heavy saturation on the water, which is already an unusual blue and looks artificial when pushed.
Keep the sequences, not just the single best frame. Three images showing a back arching, the fluke rising and the slick left behind tell the story better than one sharp tail. Those sets are also what people actually want to look at afterwards.
One habit for a repeat trip: note what worked. Which side of the boat, which hour, which shutter speed, how the light sat. Cabo runs its season from December 15 to April 15 every year, the boats leave from the same marina, and the light behaves the same way. Photographers who come back a second time nearly always do better, and not because they bought a longer lens. If you are choosing where to base yourself before that second trip, the San José del Cabo transfer guide covers the logistics from the eastern end of the corridor, and the Arch and Lover's Beach guide covers the rocks you pass on the way out. Every boat Cabo Whale Tours lists leaves from that same harbour, so the route is familiar before you even board.